Technical Support for ASEBA® Software Products
How to Set Up Your New ASEBA-Web Account
2 min read
ASEBA Customer Service will send an email with a link containing the new account token and directions to set up the account.
- click on the link in your email (for example, https://www.aseba-web.org/createaccount/?token=XXXXX–XXXXX–XXXXX–XXXXX) to create your account. The link above is an example, please do not click on it, as it is an invalid.
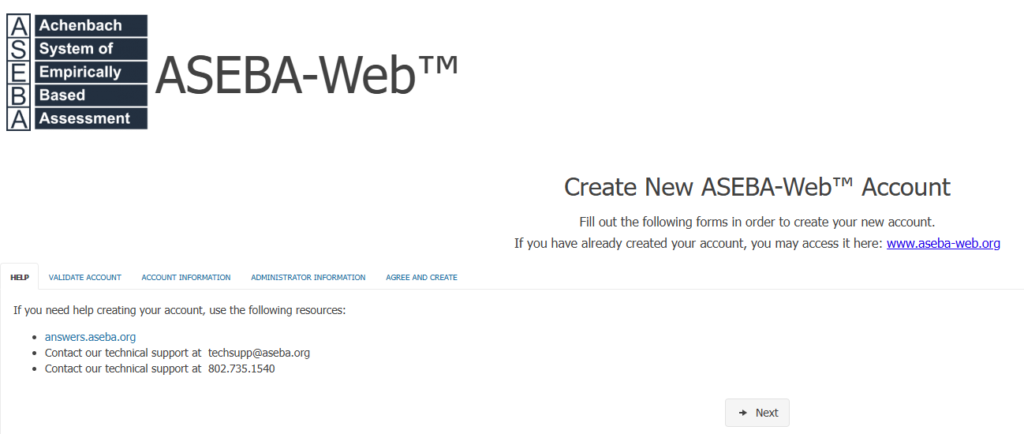
- The ASEBA-Web screen below will open to the Help tab. Click Next.
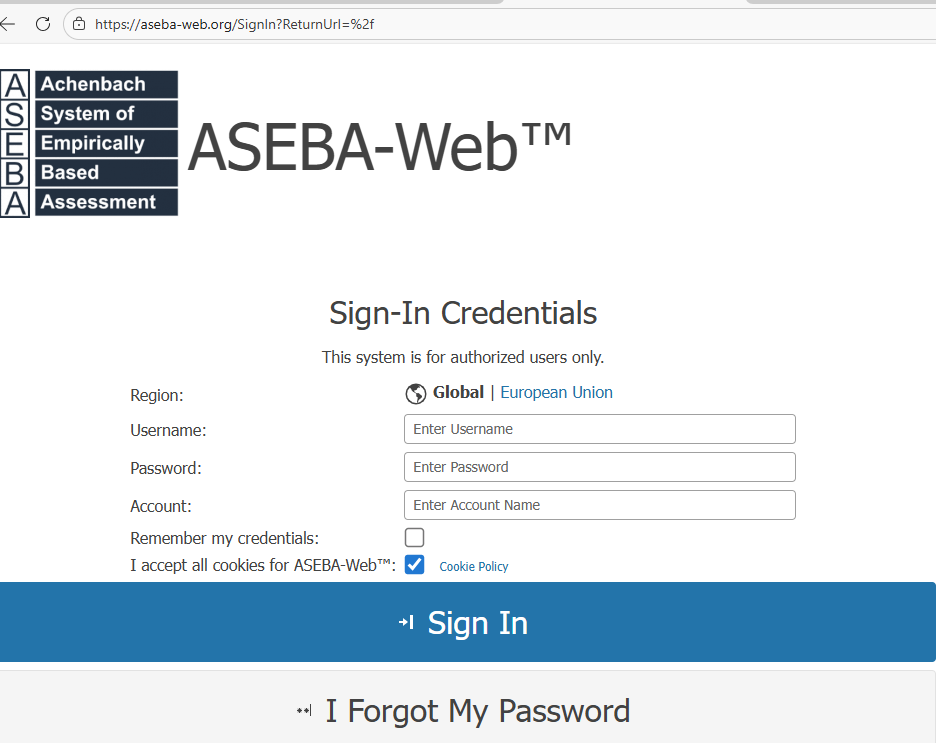
Please take note that if user is in the EU, the login site will be aseba-web.eu (not.org)
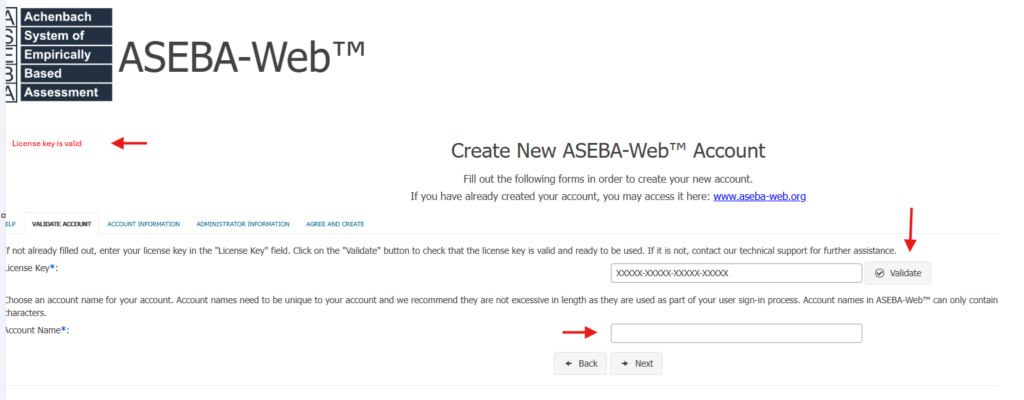
- Clicking the Validate button to the right of the token field will produce the following message: License key is valid.
- In the Account box please create an account name or number that will be meaningful and easy to remember. This will be the account that all your users will use. No Spaces. For example: RCCYF or RCCYF-Testing. Click Next.
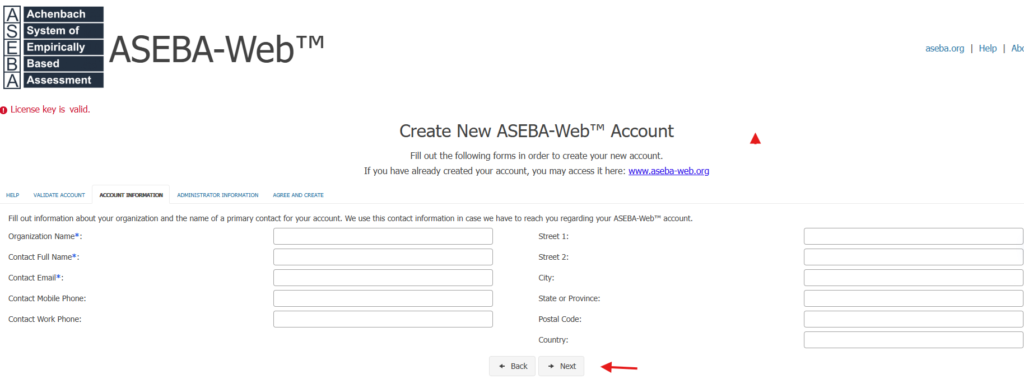
- ACCOUNT INFORMATION tab: Fill out all the blanks for Organization Name, Contact Full Name, Contact Email, Contact Mobile home, Contact Work Phone, Street address, City, State or Province, Postal code and Country. Click Next.
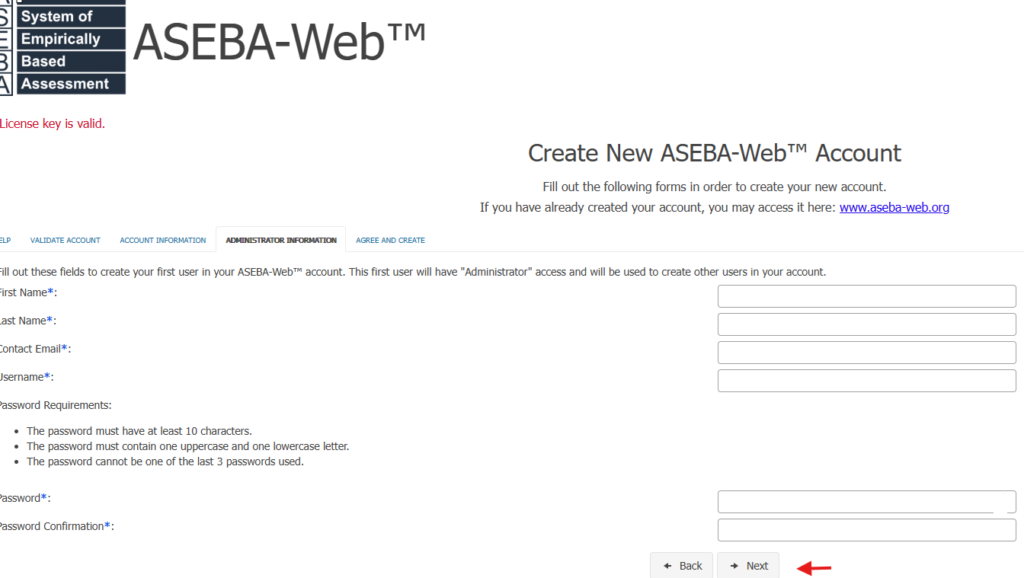
6. Fill in the ADMINISTRATOR INFORMATION: Name, Email, Username and Password.
Passwords need to be 10 characters long with a capital and lower letter. Click Next.
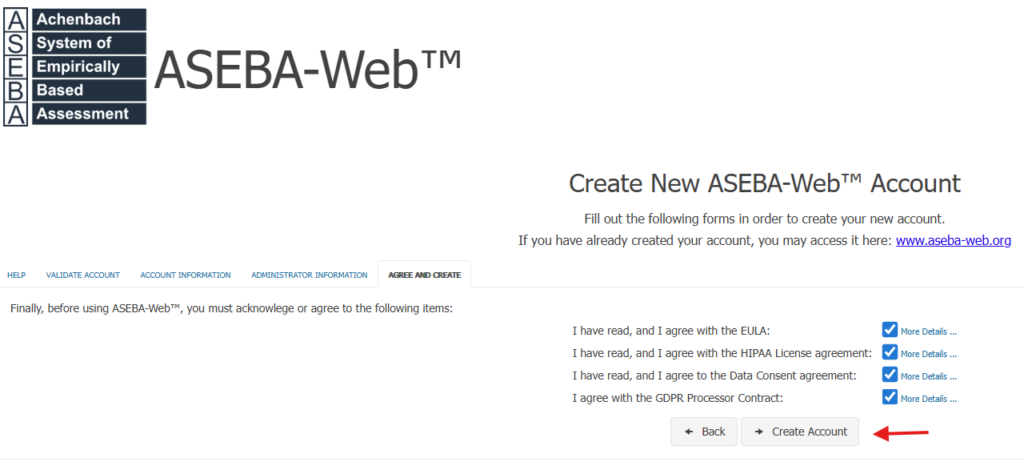
7. Make sure all the agreements are checked (they are by default) on the Agree and Create tab.
8. Click Create Account.
9. The ASEBA-Web account will be created. Click Sign in.
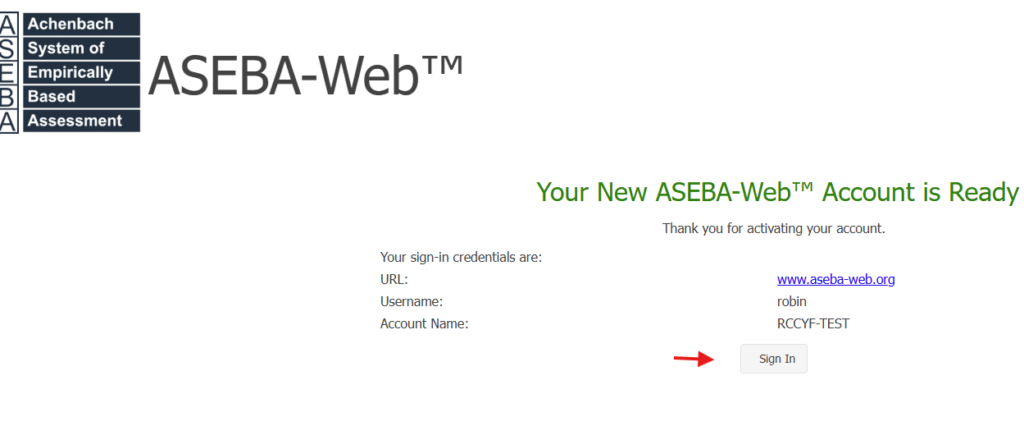
9. Sign in with the credentials created. Global login is aseba-web.org, EU login is aseba-web.eu