Technical Support for ASEBA® Software Products
How do I export my database from ASEBA-PC into ASEBA-Web?
1 min read
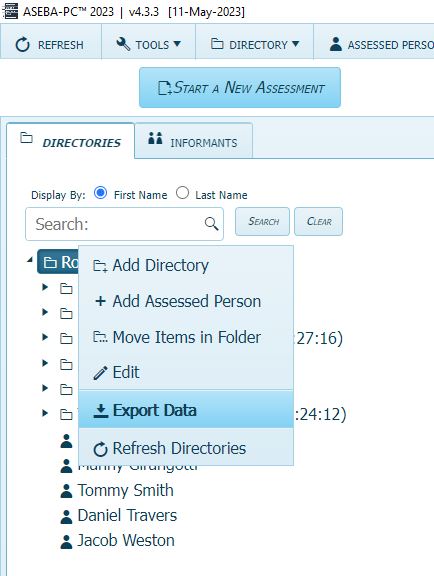
Once logged into ASEBA-PC, please right-click on the Root folder in the upper left-hand part of the screen and select Export Data.
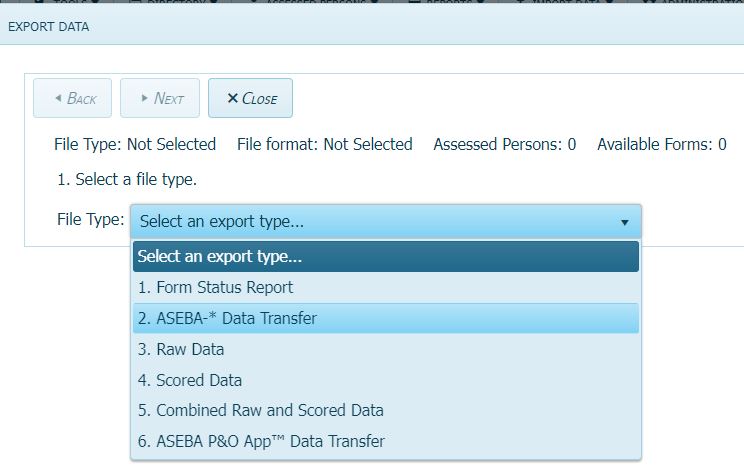
Select ASEBA-*Data Transfer from the drop-down list. Click Next.
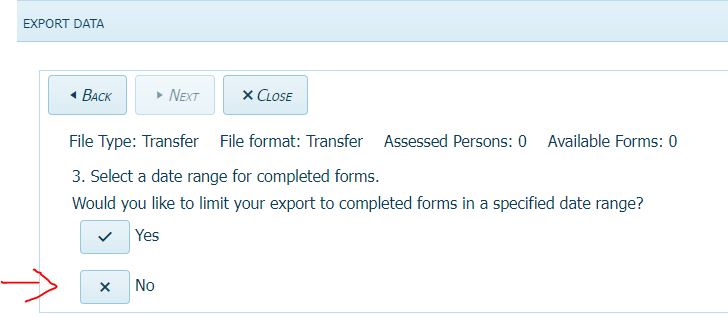
Select No for a specified date range.
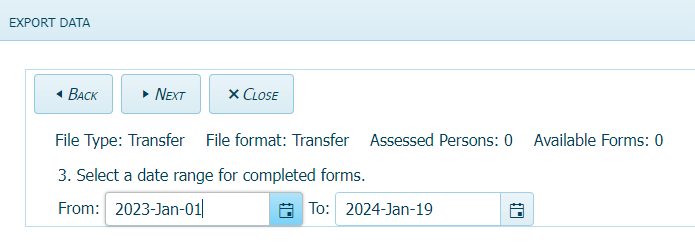
If Yes is selected, choose the date range and click Next.
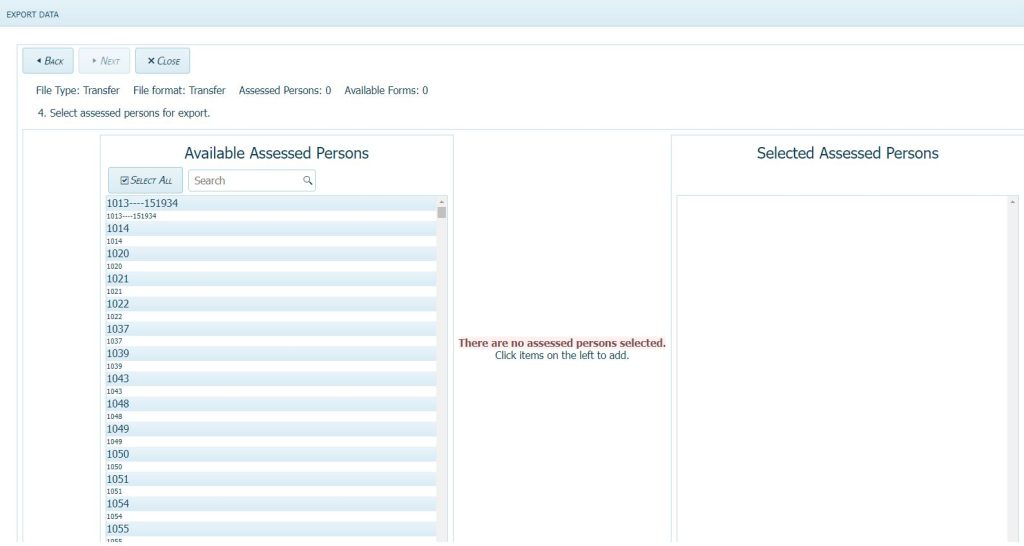
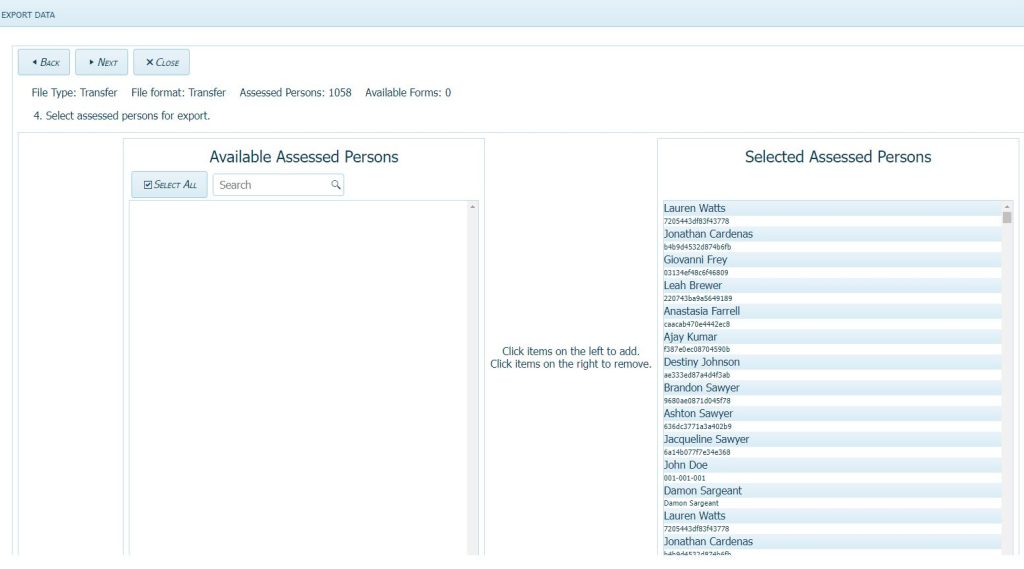
Click on Select All to move all Available Assessed Persons to the Selected Assessed Persons column. Click Next.
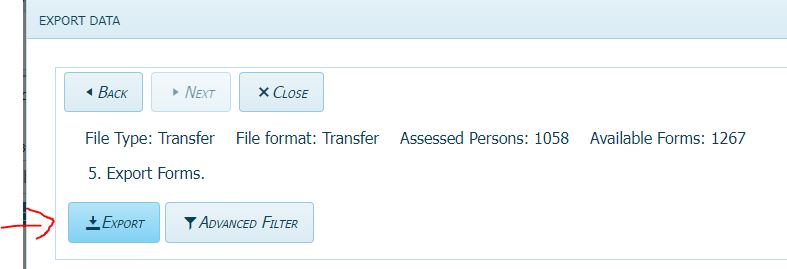
Click Export. The ASEBA_Data_Transfer.zip file will download.
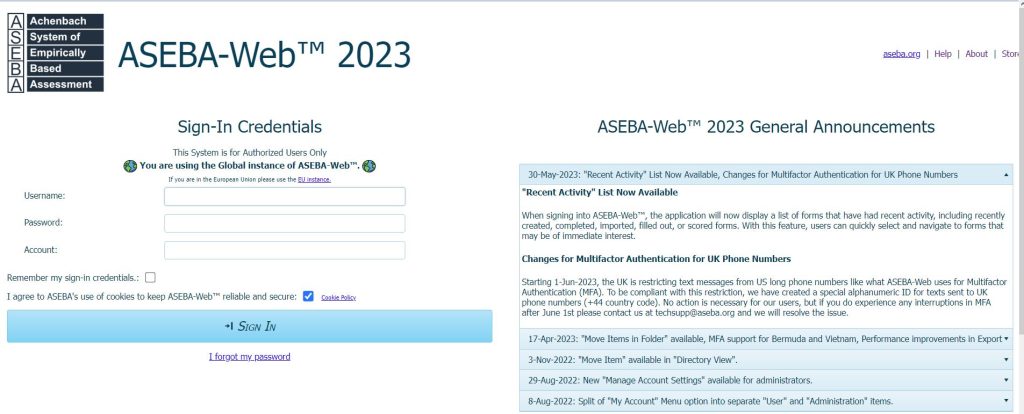
To import the ASEBA_Data-Transfer.zip into ASEBA-Web, log into ASEBA-Web.org website.
Once logged in, Click on Import Data tab, Import Data.
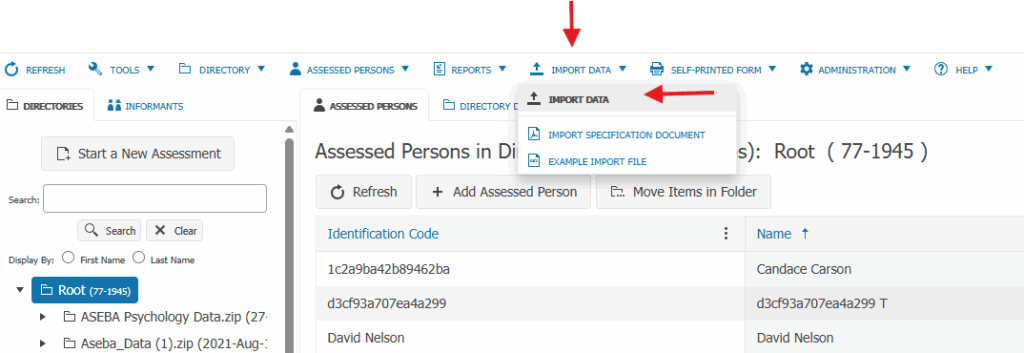
Select the Data Transfer File:

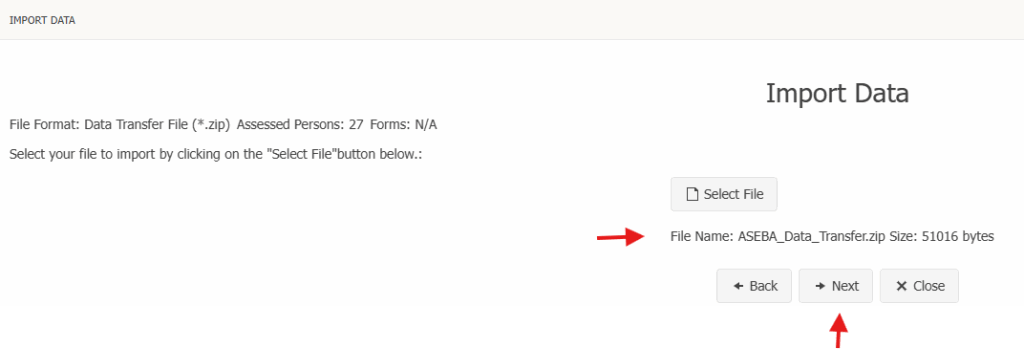
Select the file:

Once the file has been selected, click Next.
Select what directory to import data into. If a directory was not created ahead of time, choose the default directory Root. Rename the file if desired. Click Next.


Click on Start Processing.

When the importing is finished, the Done Importing message will appear. Click Save.

The file is saved under the Directories tab under the Root folder with the name given and with the date and time of the import. To view assessed persons and forms, expand the folder.

