Technical Support for ASEBA® Software Products
How to Export and Import from ASEBA-Web to ASEBA-Web
1 min read
To export the entire database:
Once you have logged into our ASEBA program, please RIGHT click on the Root folder at the top of the left-hand column under the DIRECTORIES tab and choose Export Data.

Select the File Type: Aseba-* Data Transfer and click Next.

Select the parameters for the export. If Set Completed Data Range is checked. Please select a data range. Otherwise, click Next.

Click on Export.

A file called Aseba_Data_Transfer.zip will download to the Downloads folder.
Save this file to be imported back into another ASEBA-Web account.
To Import data into Aseba-Web from Aseba-Web
Once logged into the ASEBA-Web program, please click on the IMPORT DATA tab, IMPORT DATA again.

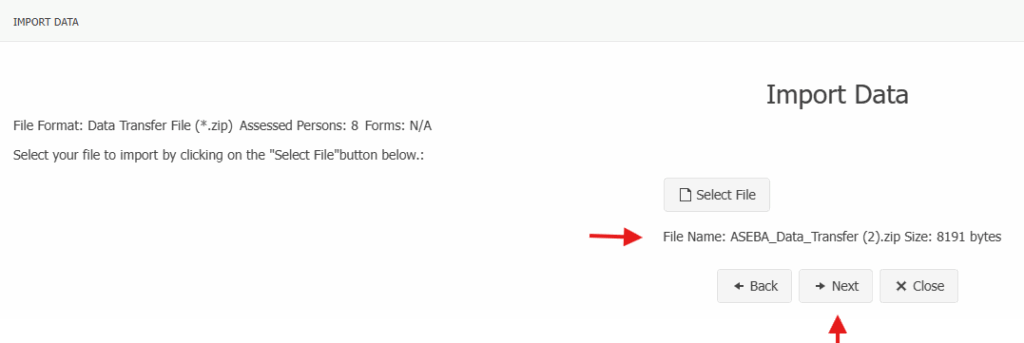
Choose Data Transfer File. Click Next.

Click on Select files to browse to your data file. Once selected, the file will be viewable in window. Click Next.
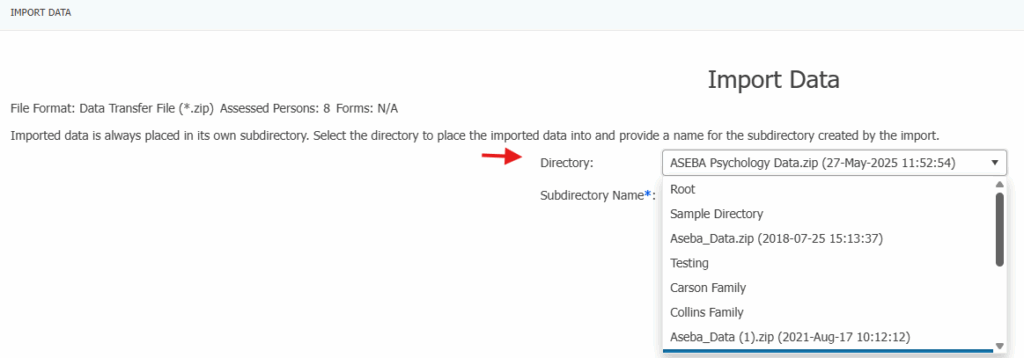
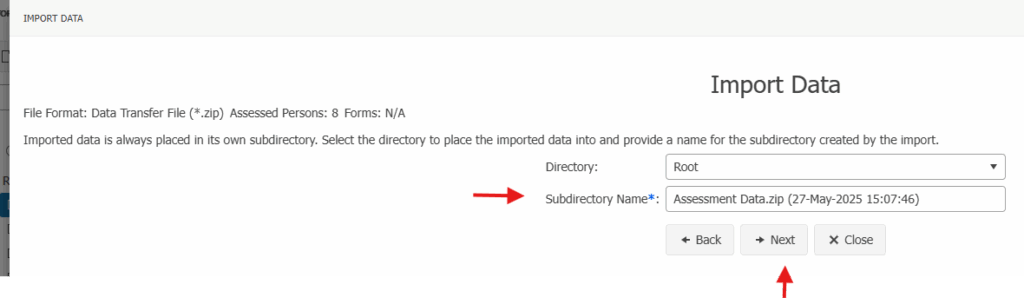
Select the directory to import the data. Change the name of the import file if desired. Click Next.
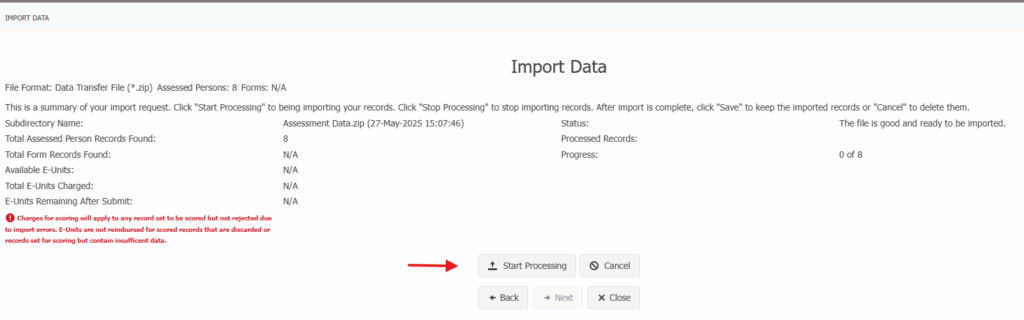
The program will state that The file is good and ready to be imported. Click Start Processing.
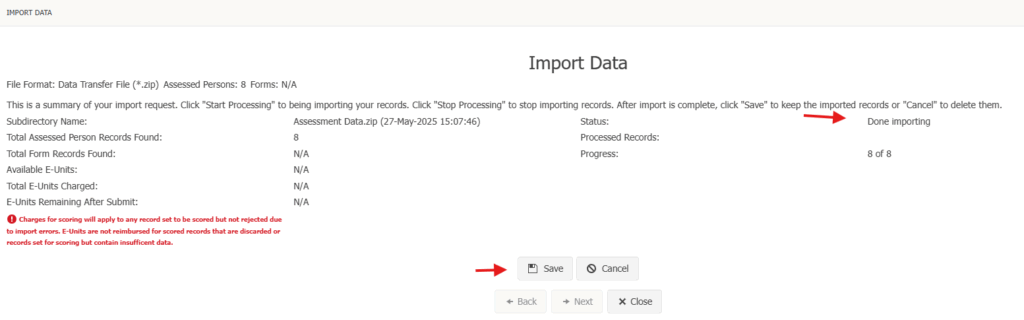
When the file is finished importing. The program will state Done Importing. Click Save.
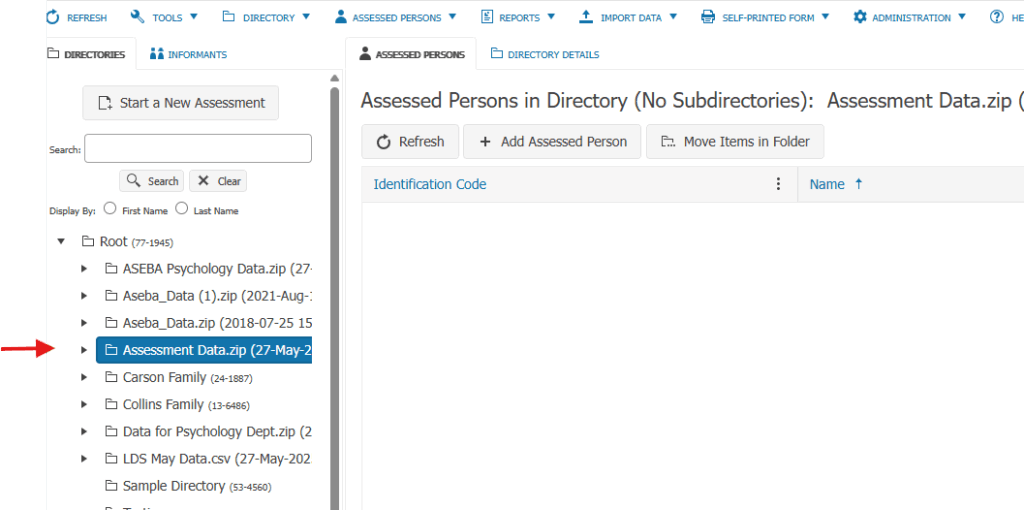
The file will import under the directory that was chosen with the Aseba_Data.zip file or the name given with the date and time of the import. You will need to expand the folder to see the assessed persons and their forms.